
This custom fireplace remodel in Melissa, TX started with a homeowner’s idea from Pinterest. They wanted a wood burning fireplace built into a corner of their living room. Rainy Day Restoration & Roofing had worked with this homeowner before, so they called us again to turn the idea into a real, finished space. The job involved opening a wall, rerouting wiring, building a stone and tile surround, and coordinating a fireplace installation and roof flashing. Because the home already had a newer roof, our crew returned after the fireplace company finished to flash in the flue pipe correctly. The result is a functioning fireplace built into a space that once held only carpet and drywall.
What we found in Melissa
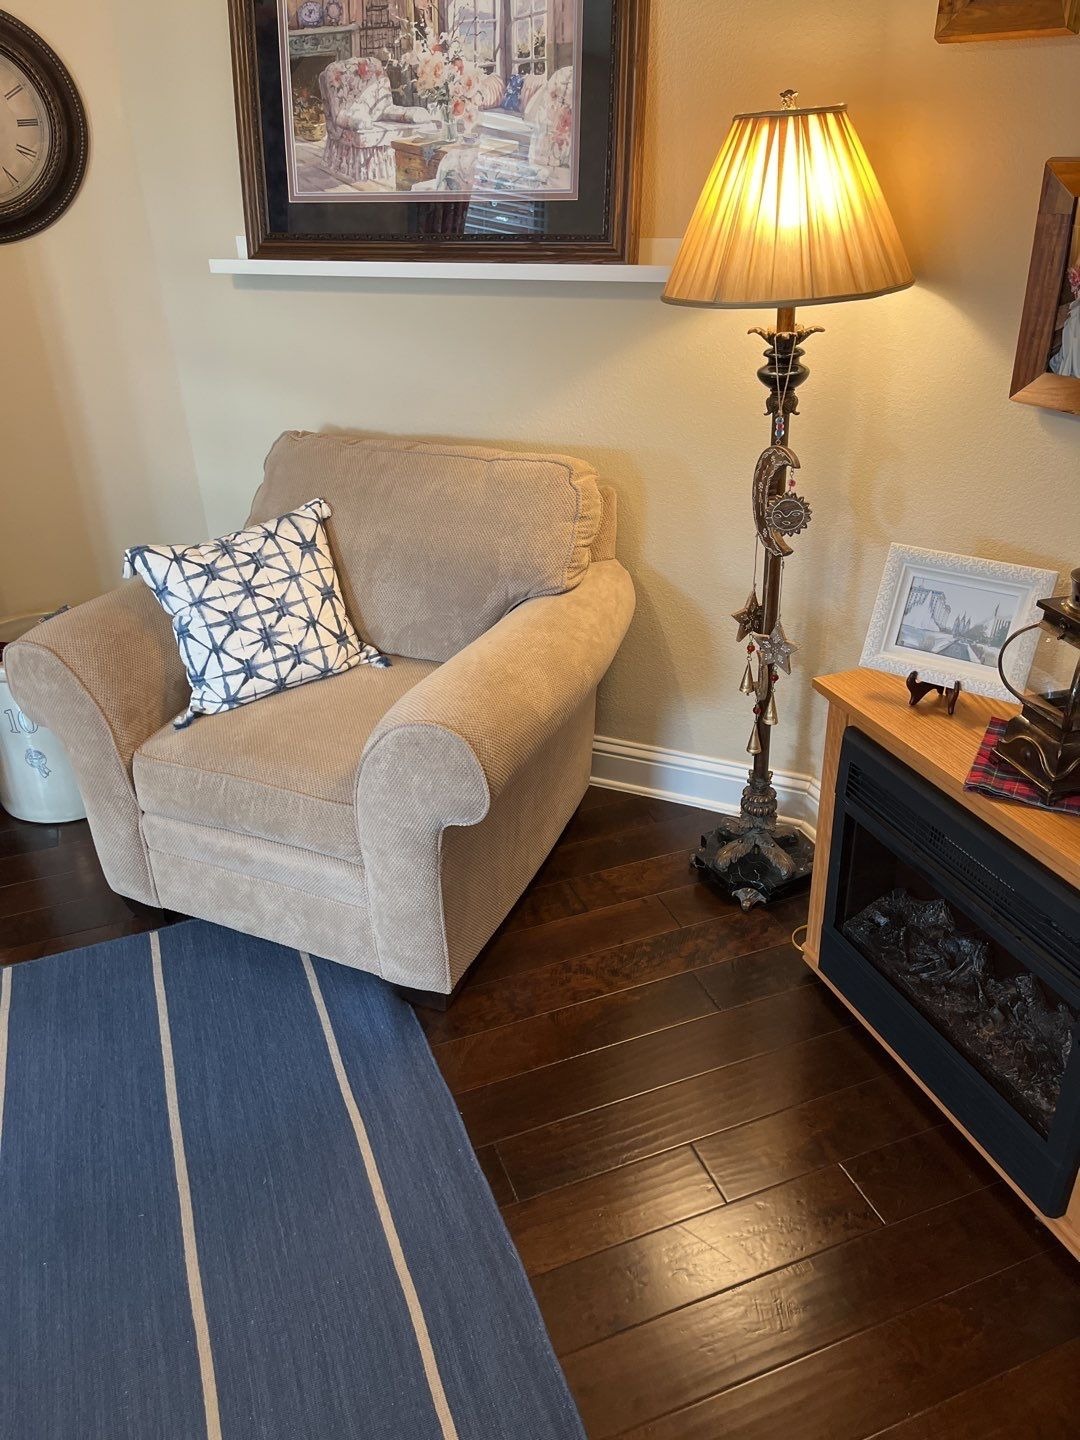
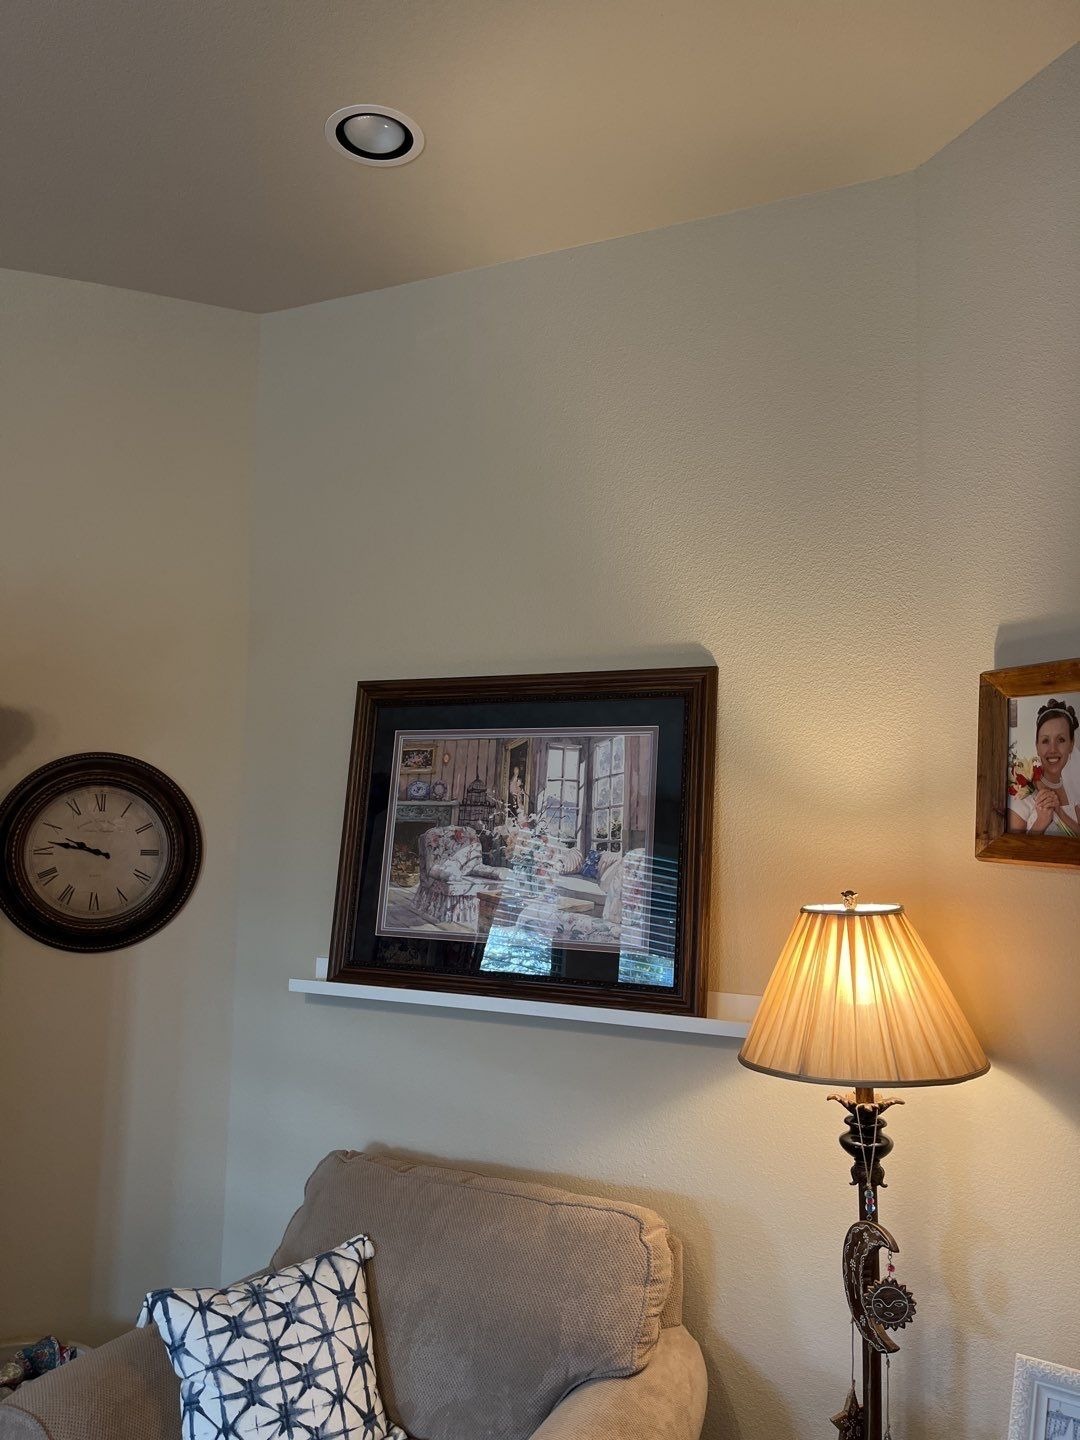
The homeowner had a vision, not yet a plan. They wanted a wood burning fireplace in a specific corner of the living room, based on photos they had saved online. Before any demolition began, we inspected the wall structure to confirm it could be opened safely. We needed to know if the project could move forward without structural surprises. This step matters because not every wall in a home can support a new fireplace and flue path without adjustments.
Rainy Day’s role
As a returning customer, the homeowner trusted us to manage the entire project from concept to finish. That meant coordinating several moving pieces: demolition, an electrician for wiring changes, tile and stone installation, and a separate fireplace company for the unit itself. Rainy Day acted as the single point of contact through each phase. This is the kind of project where one company from first call through rebuild keeps the schedule organized and the finish work consistent.
The custom fireplace remodel in Melissa, step by step
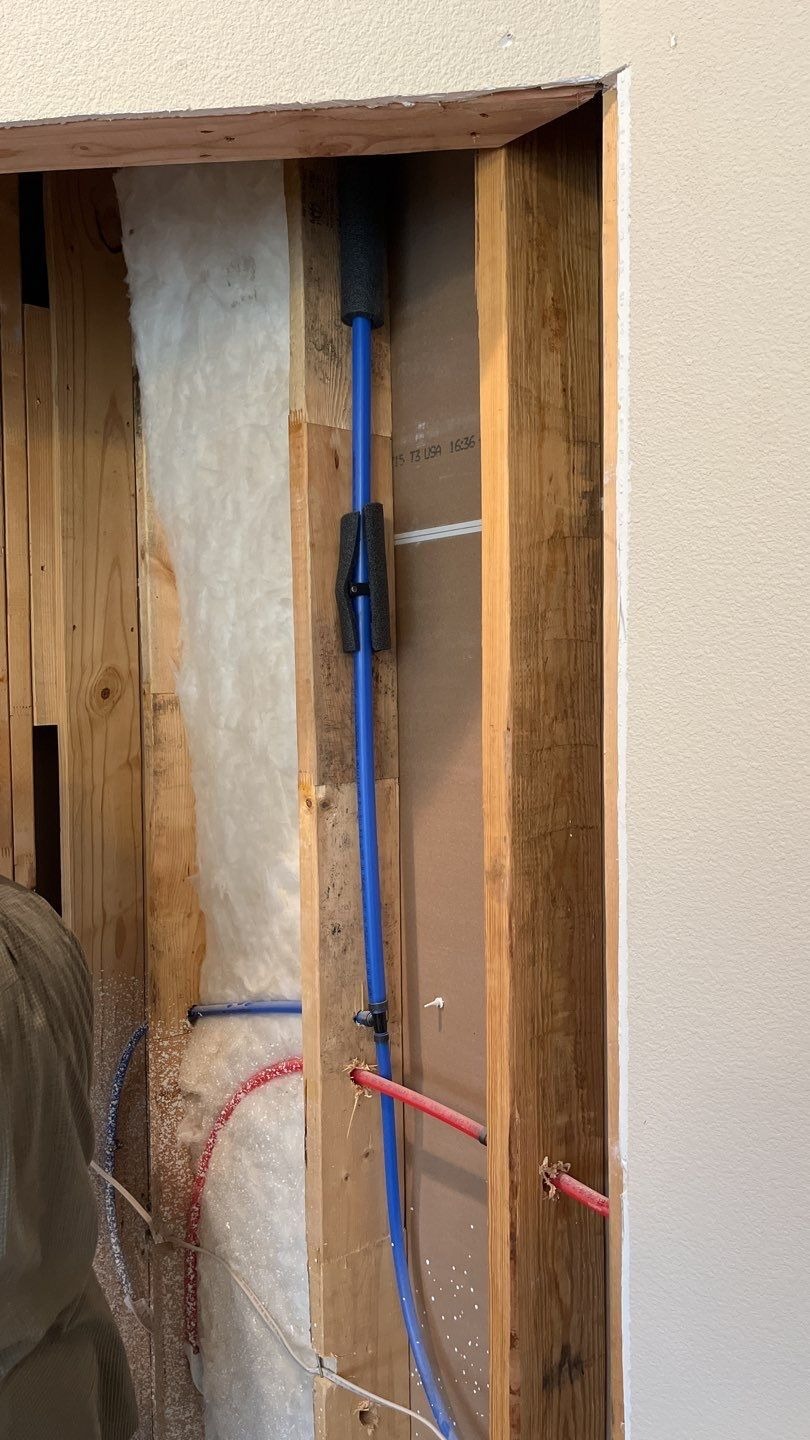
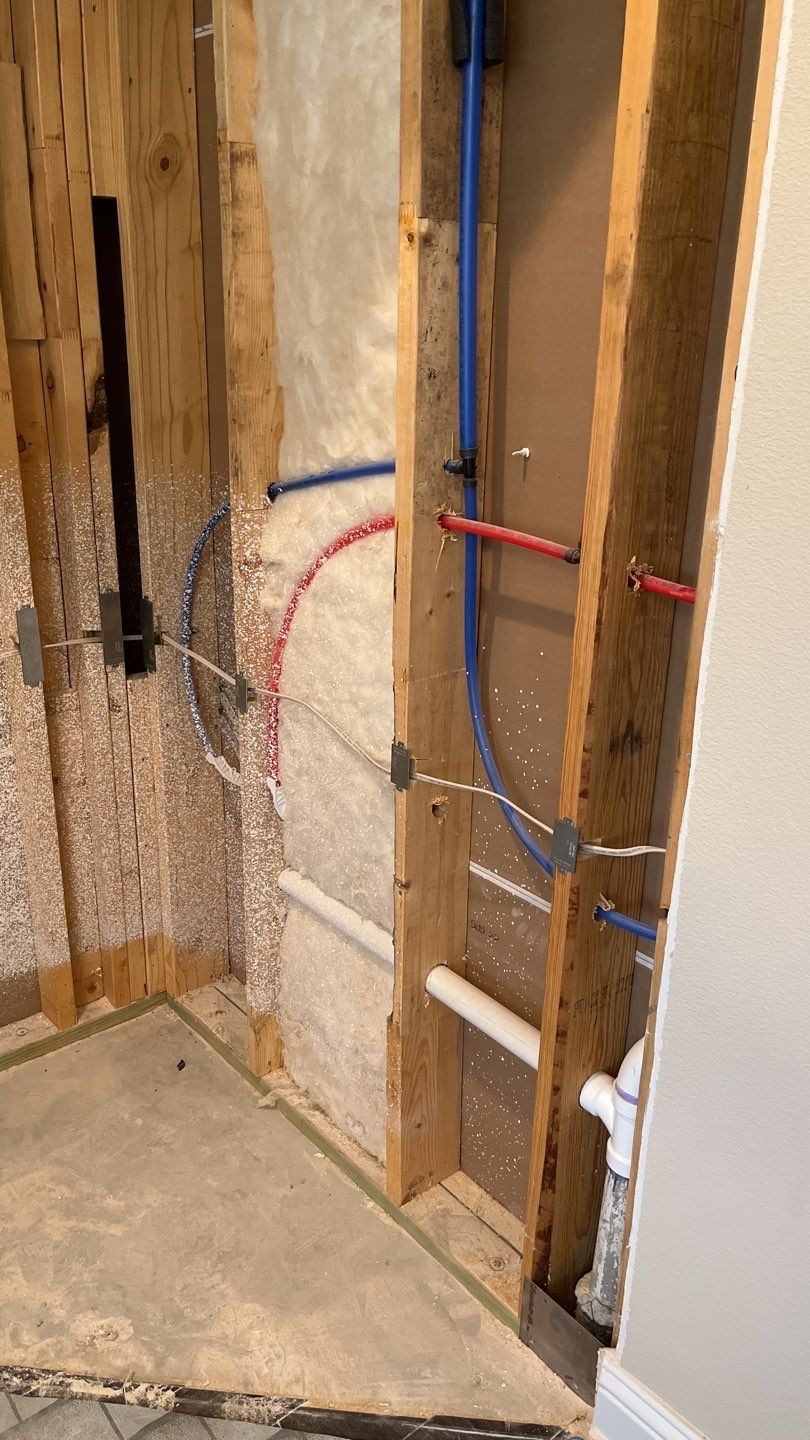
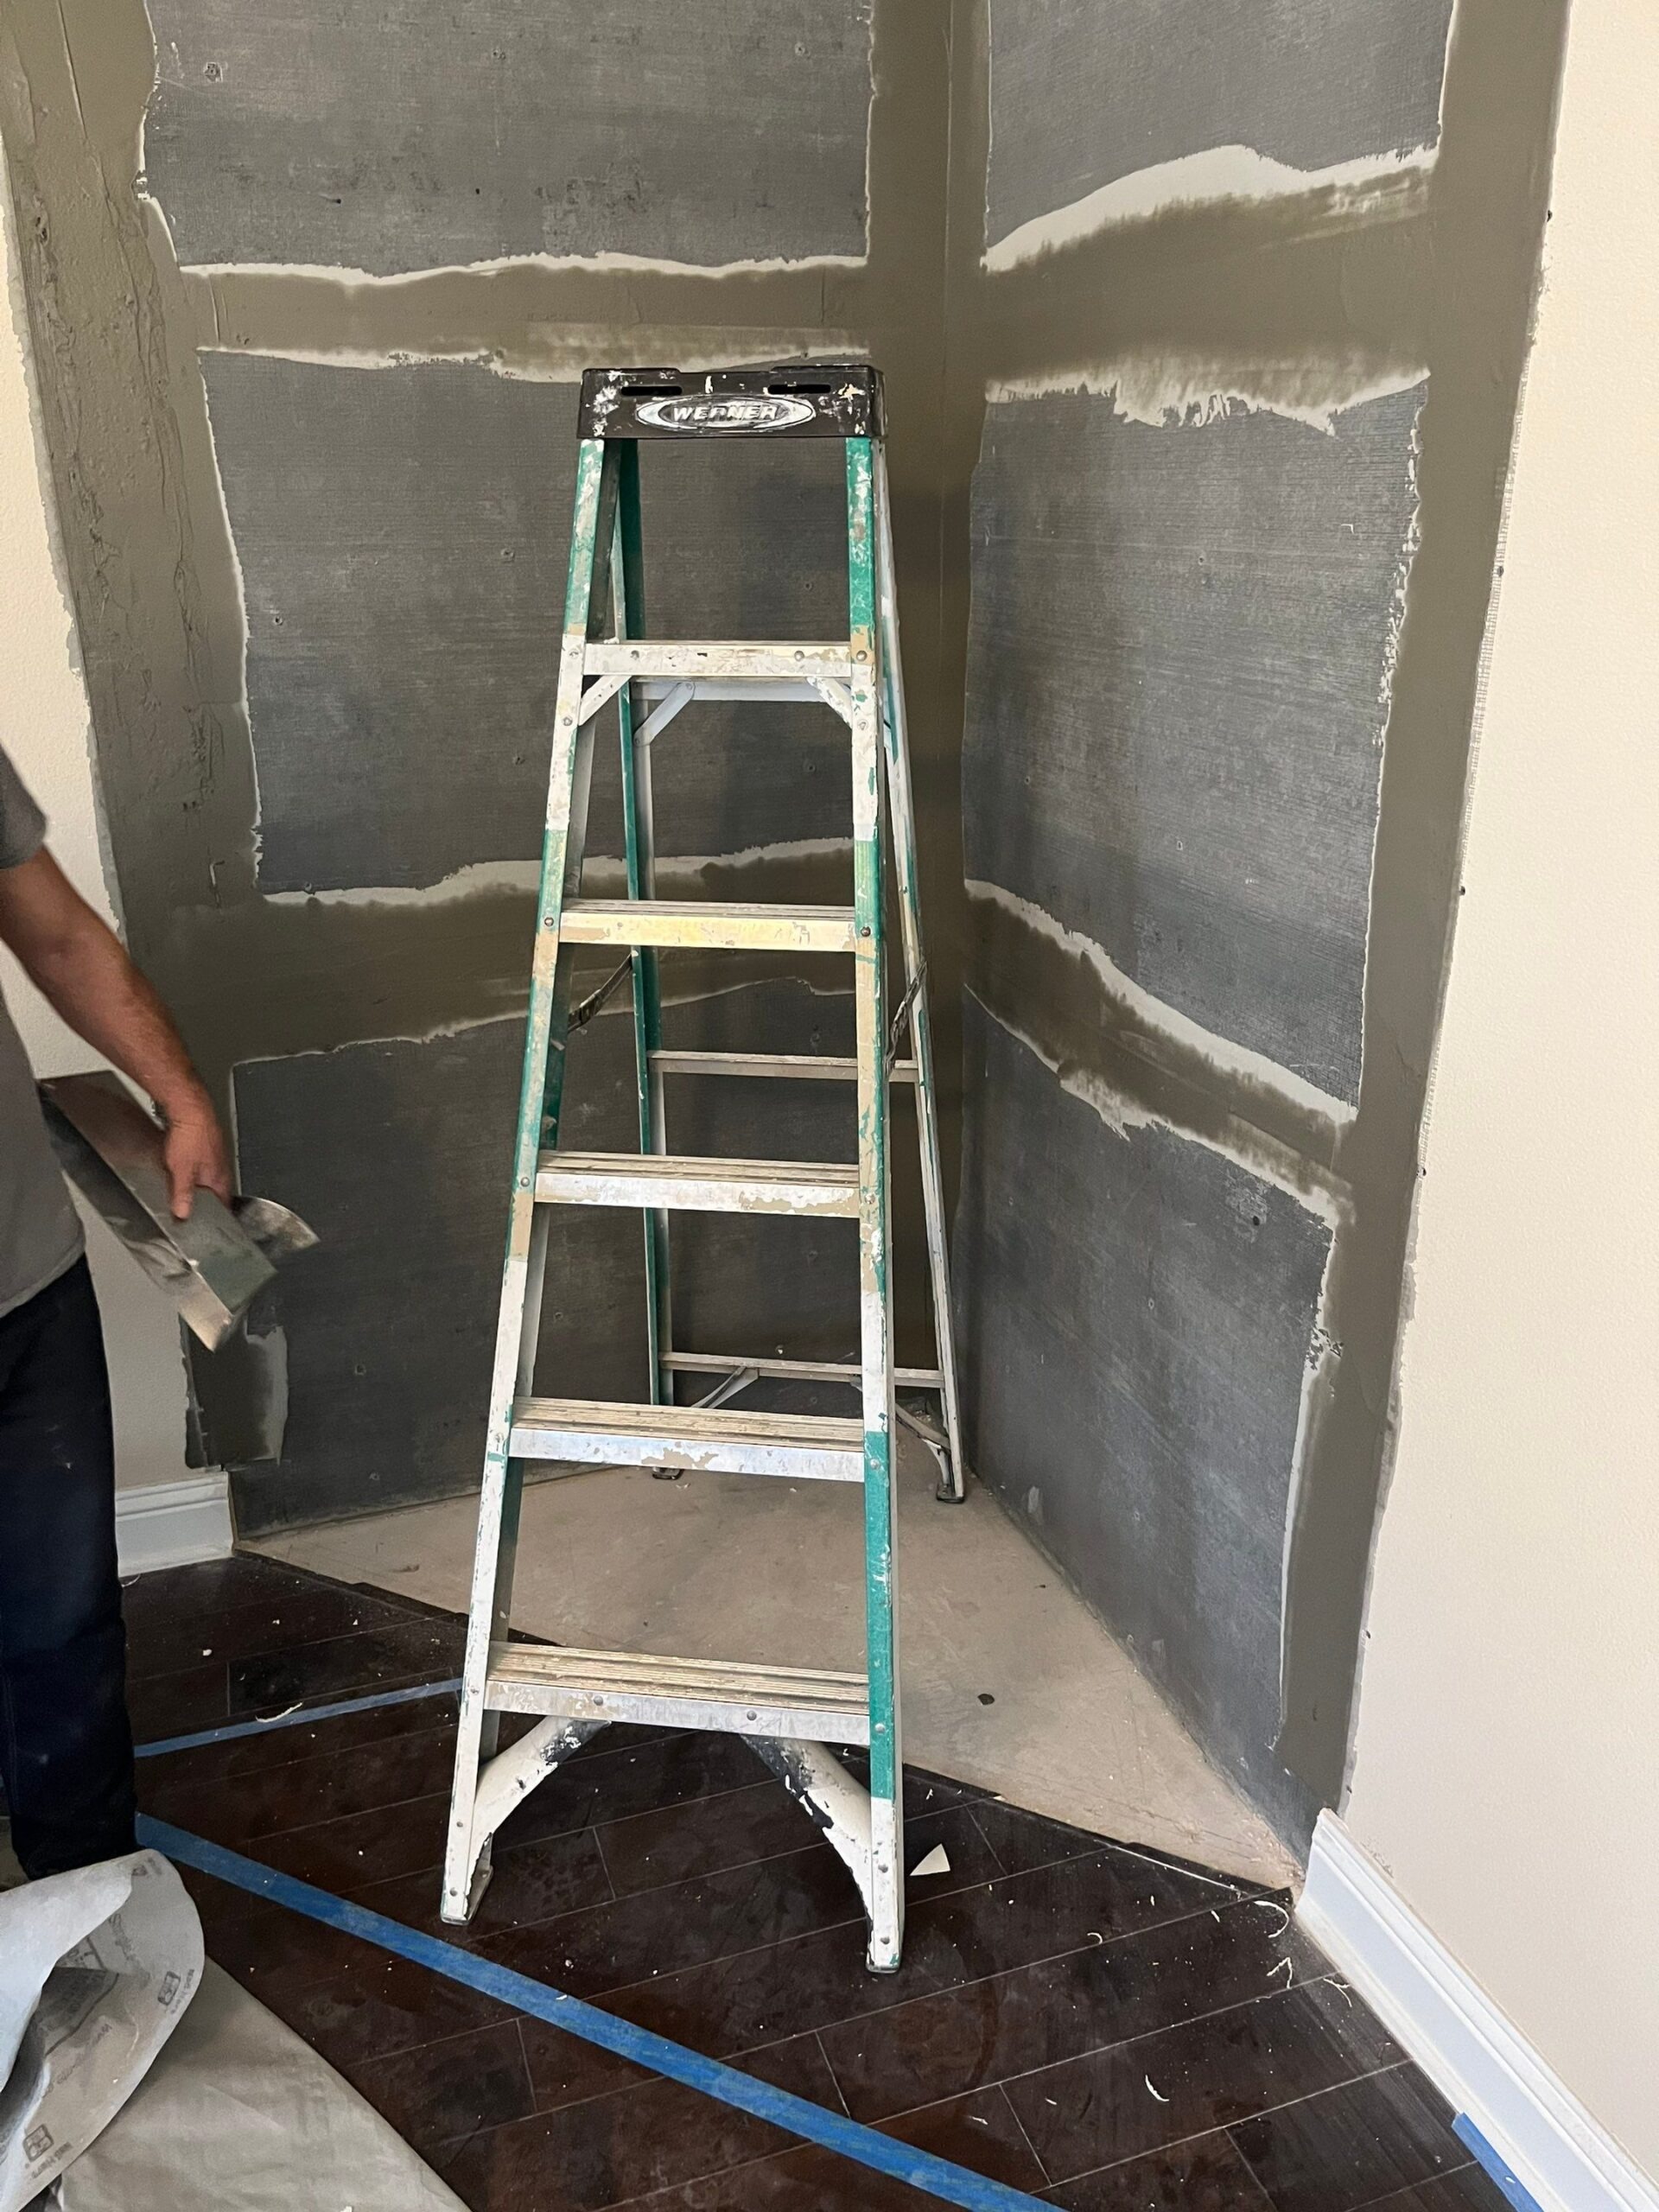
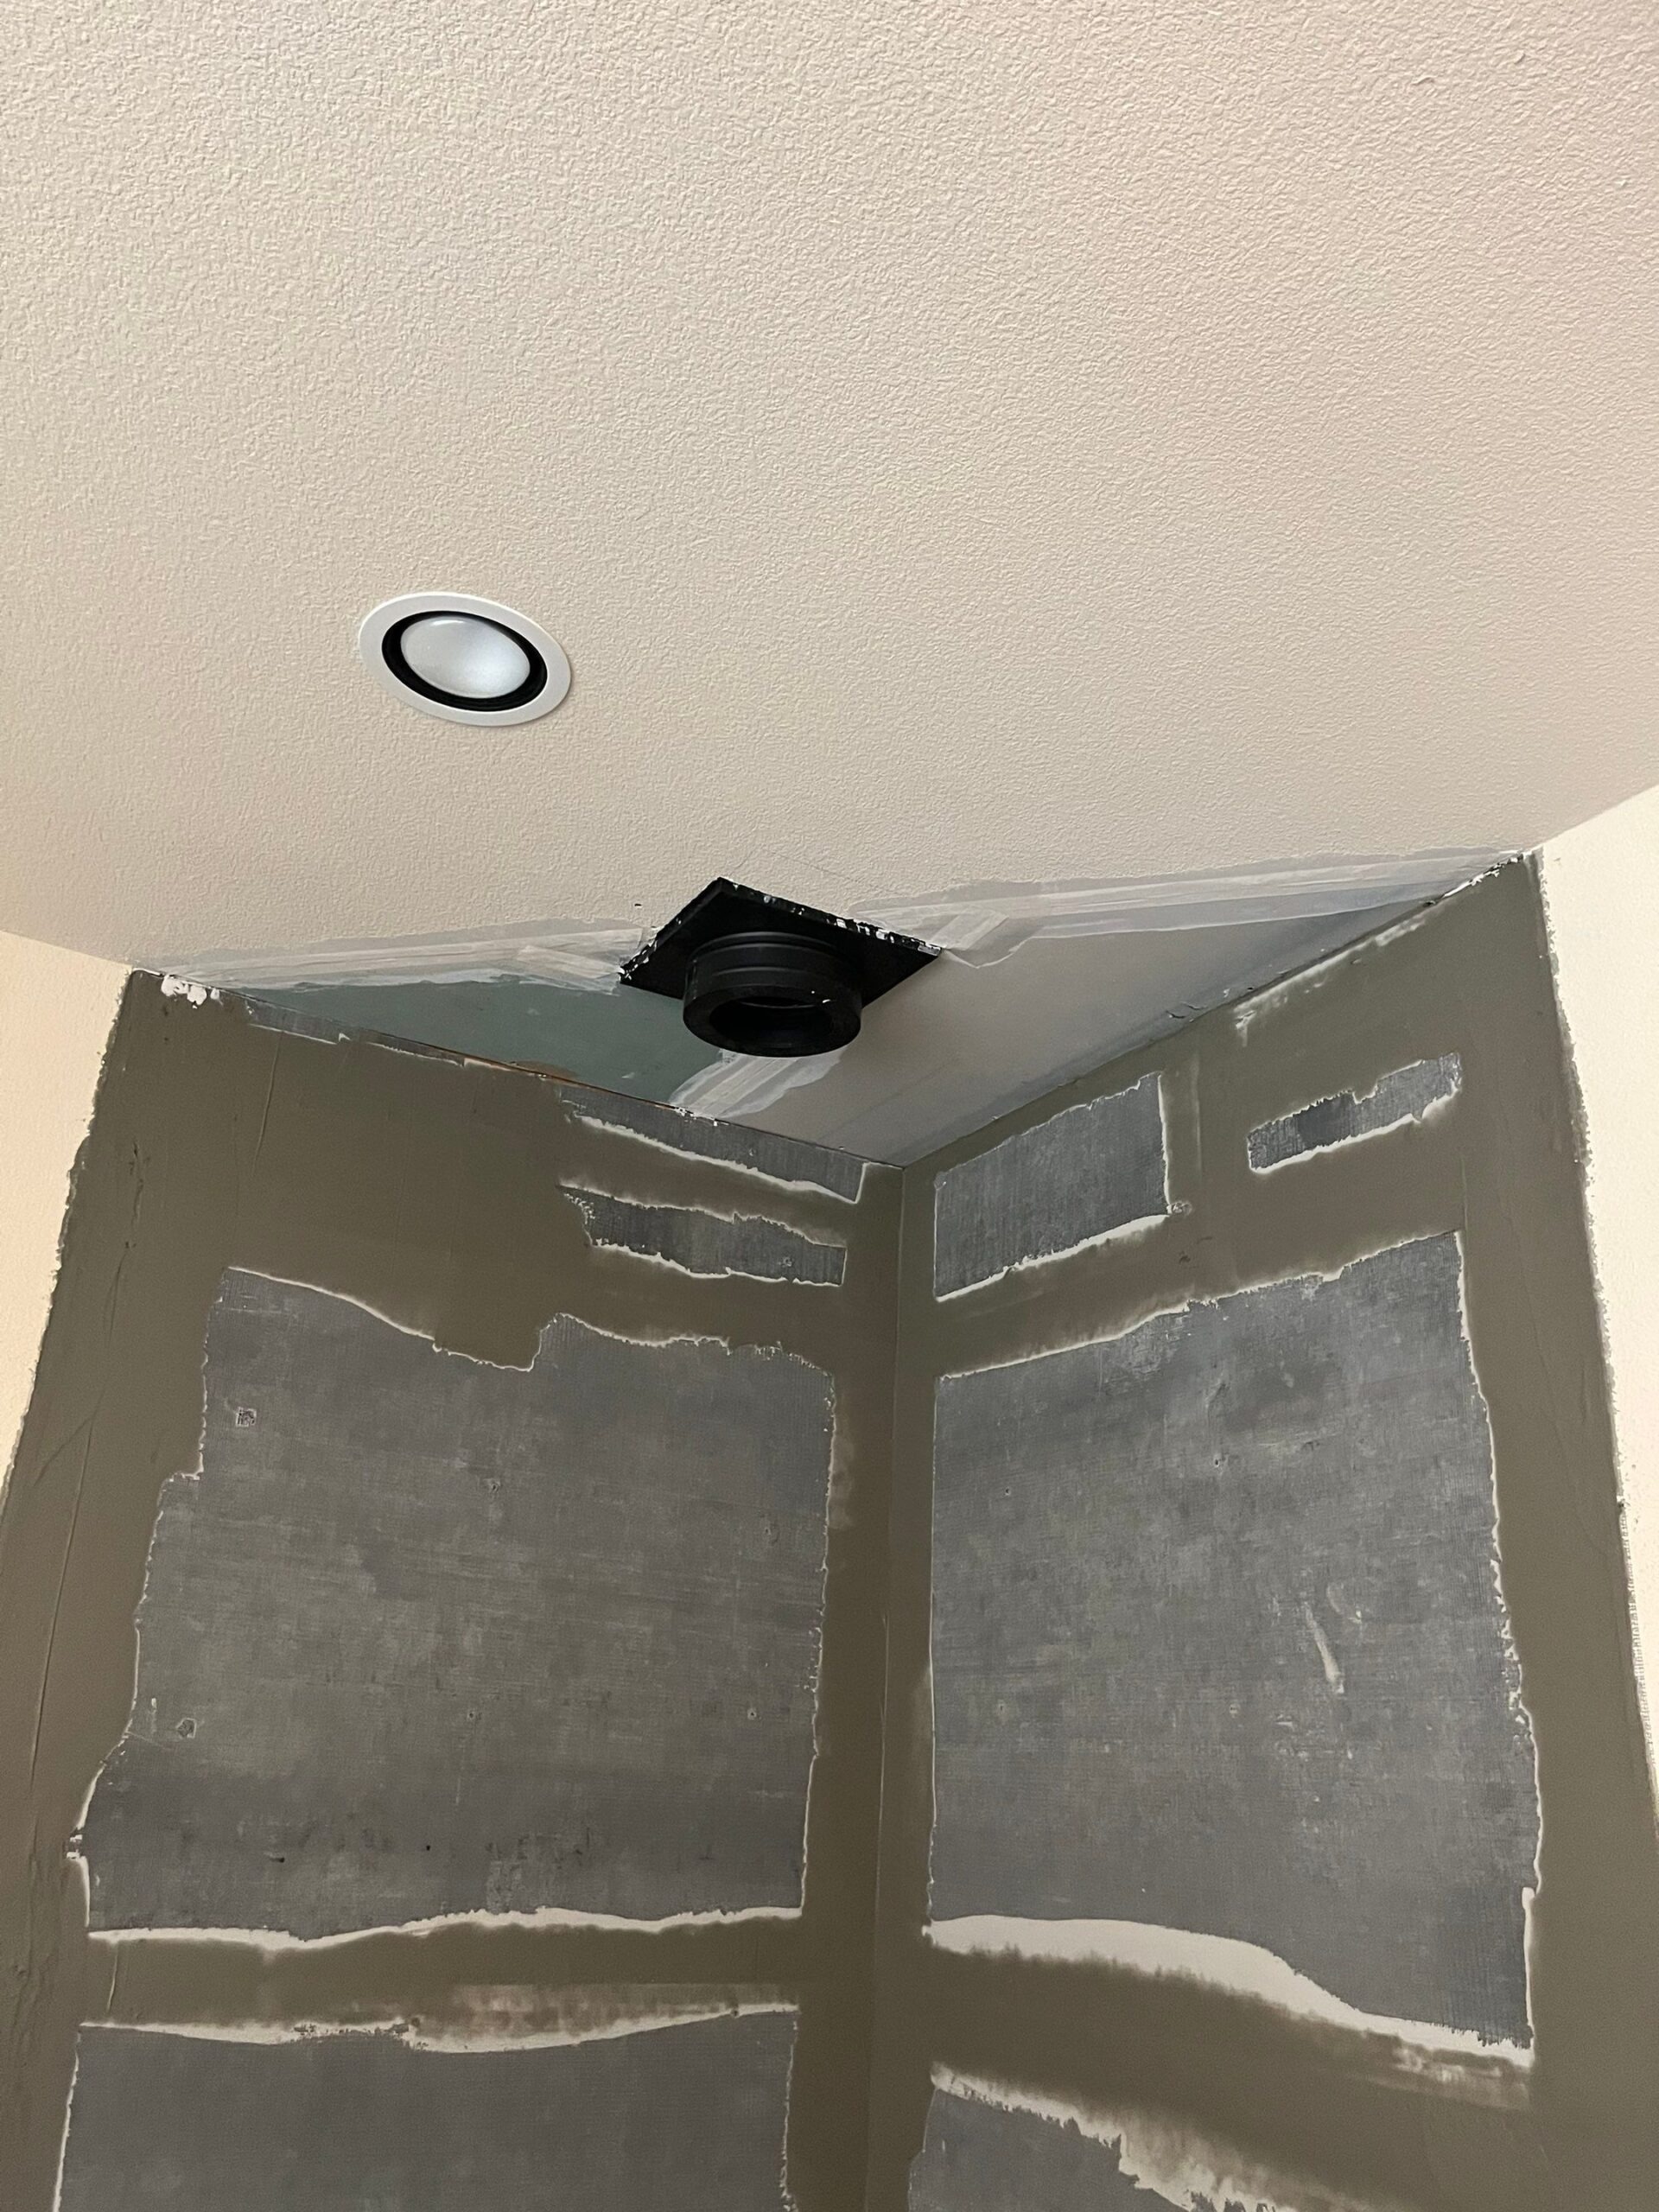
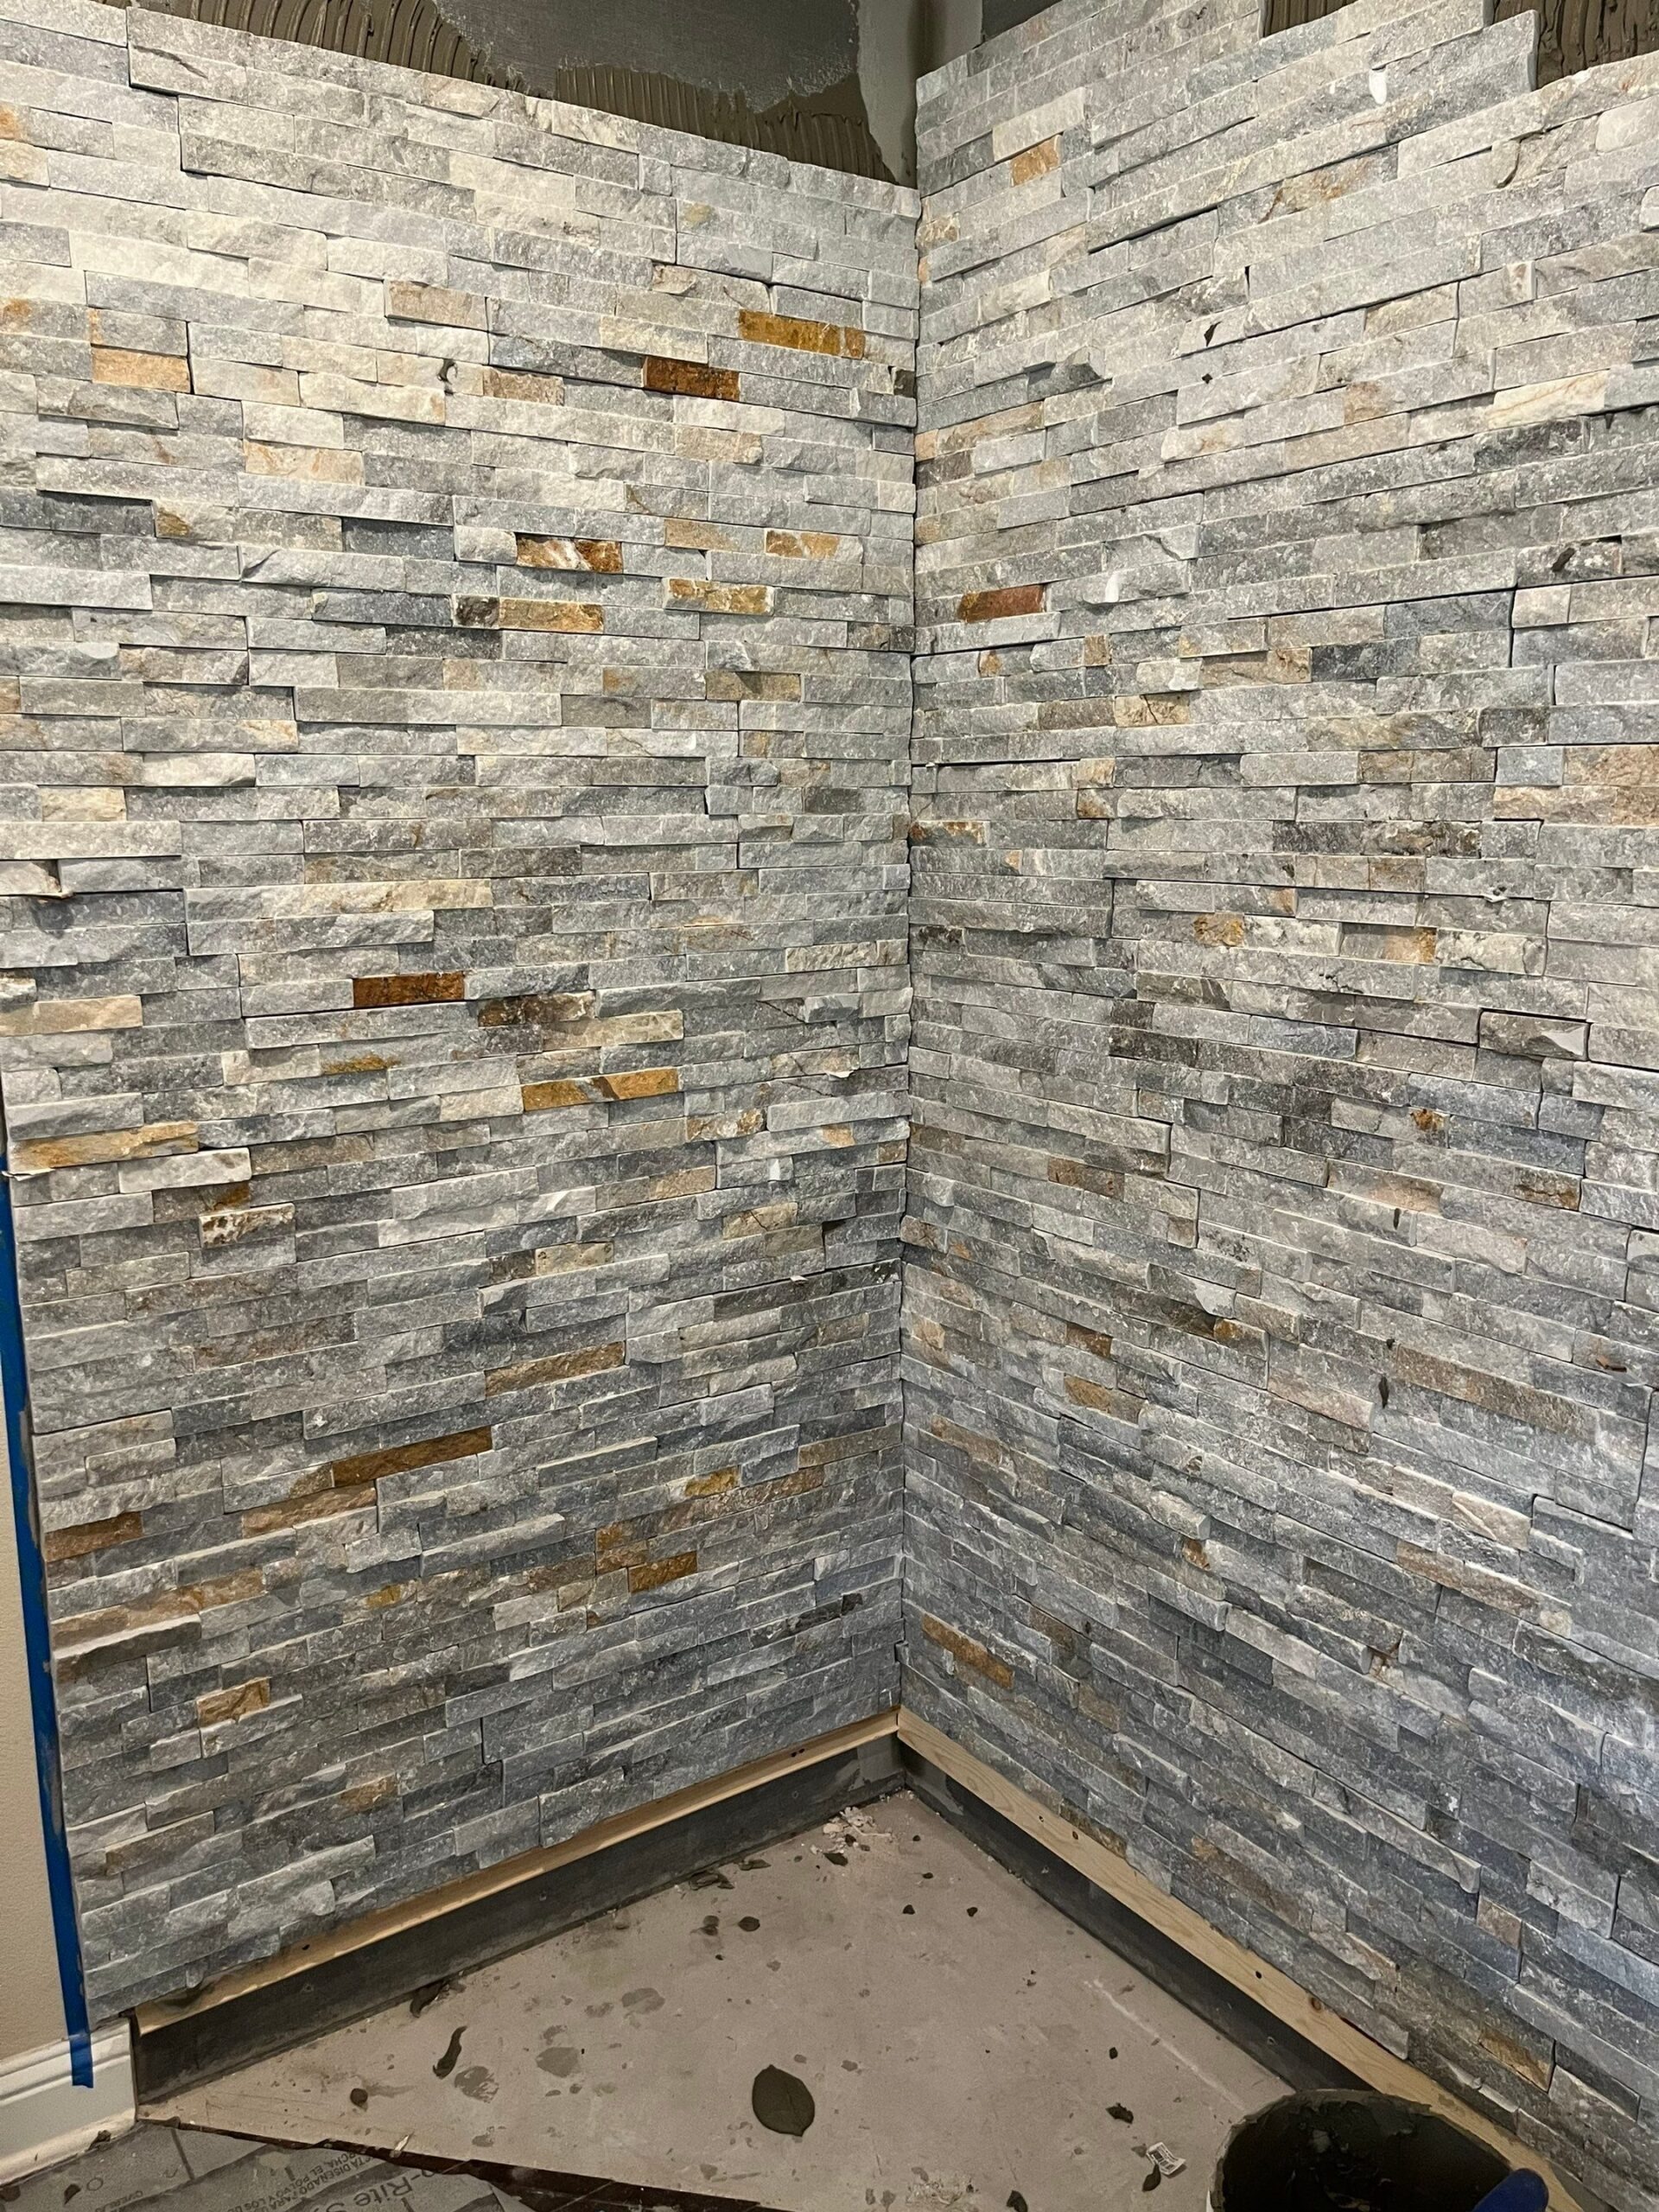
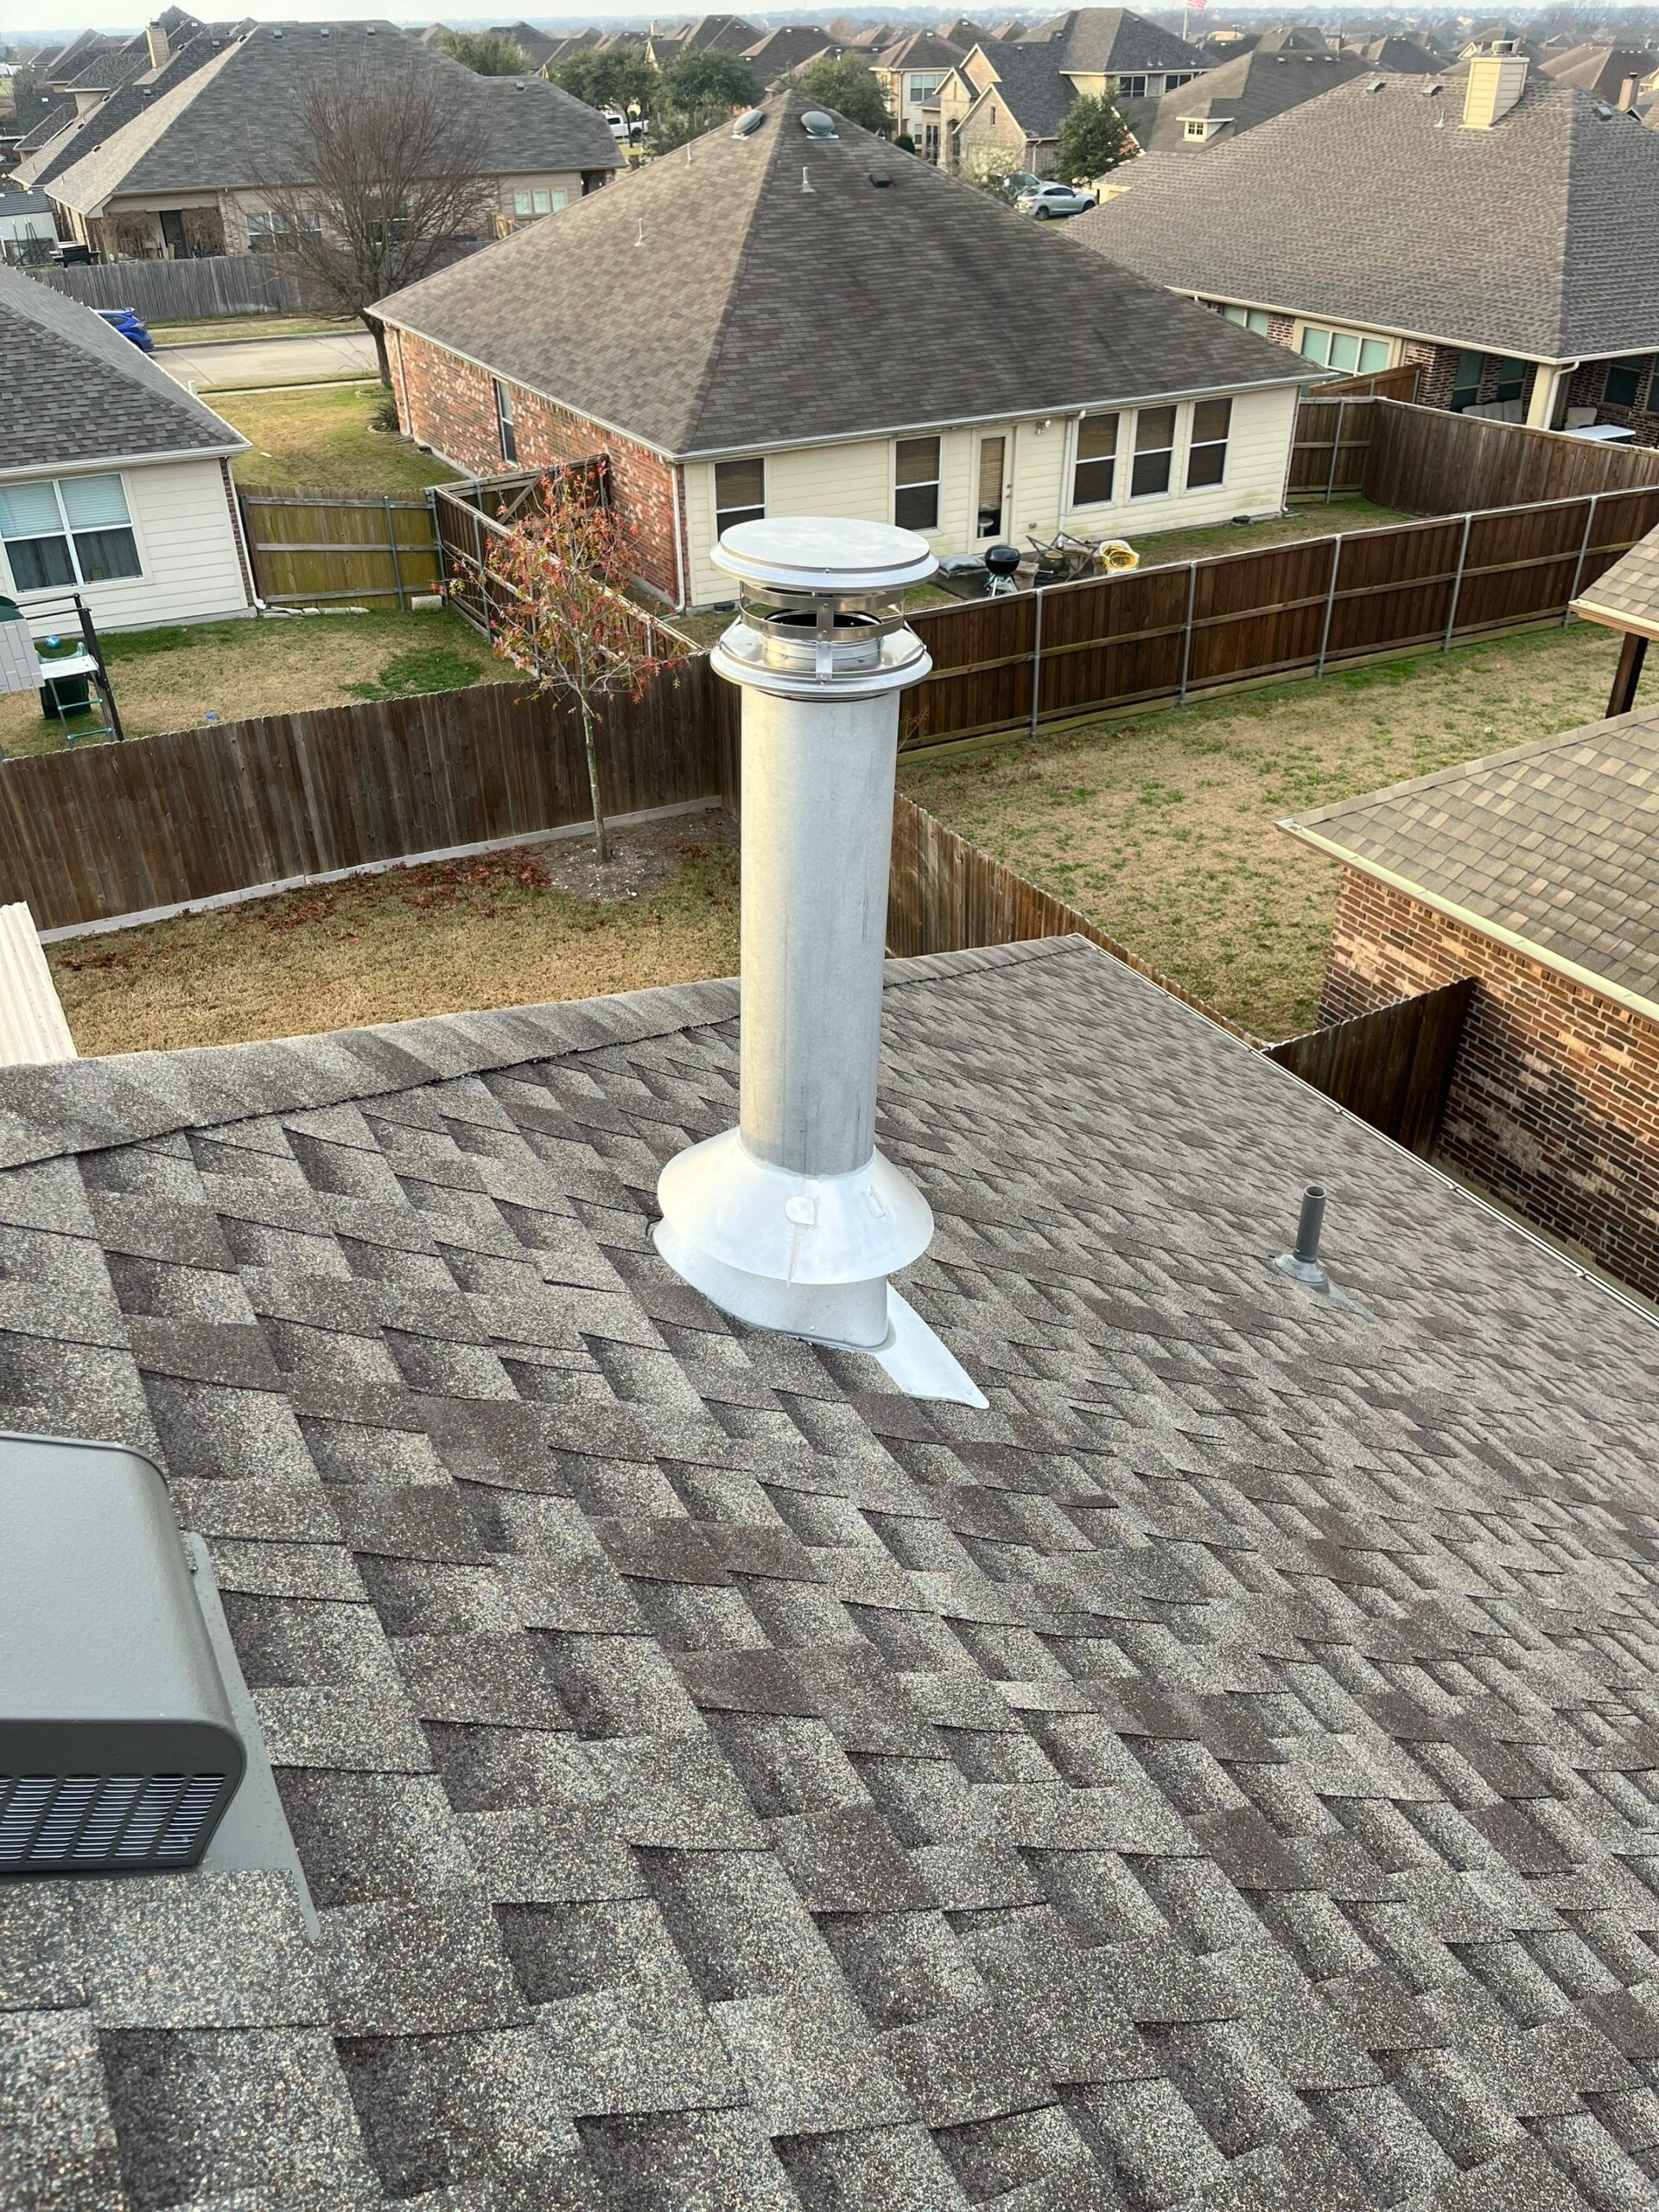
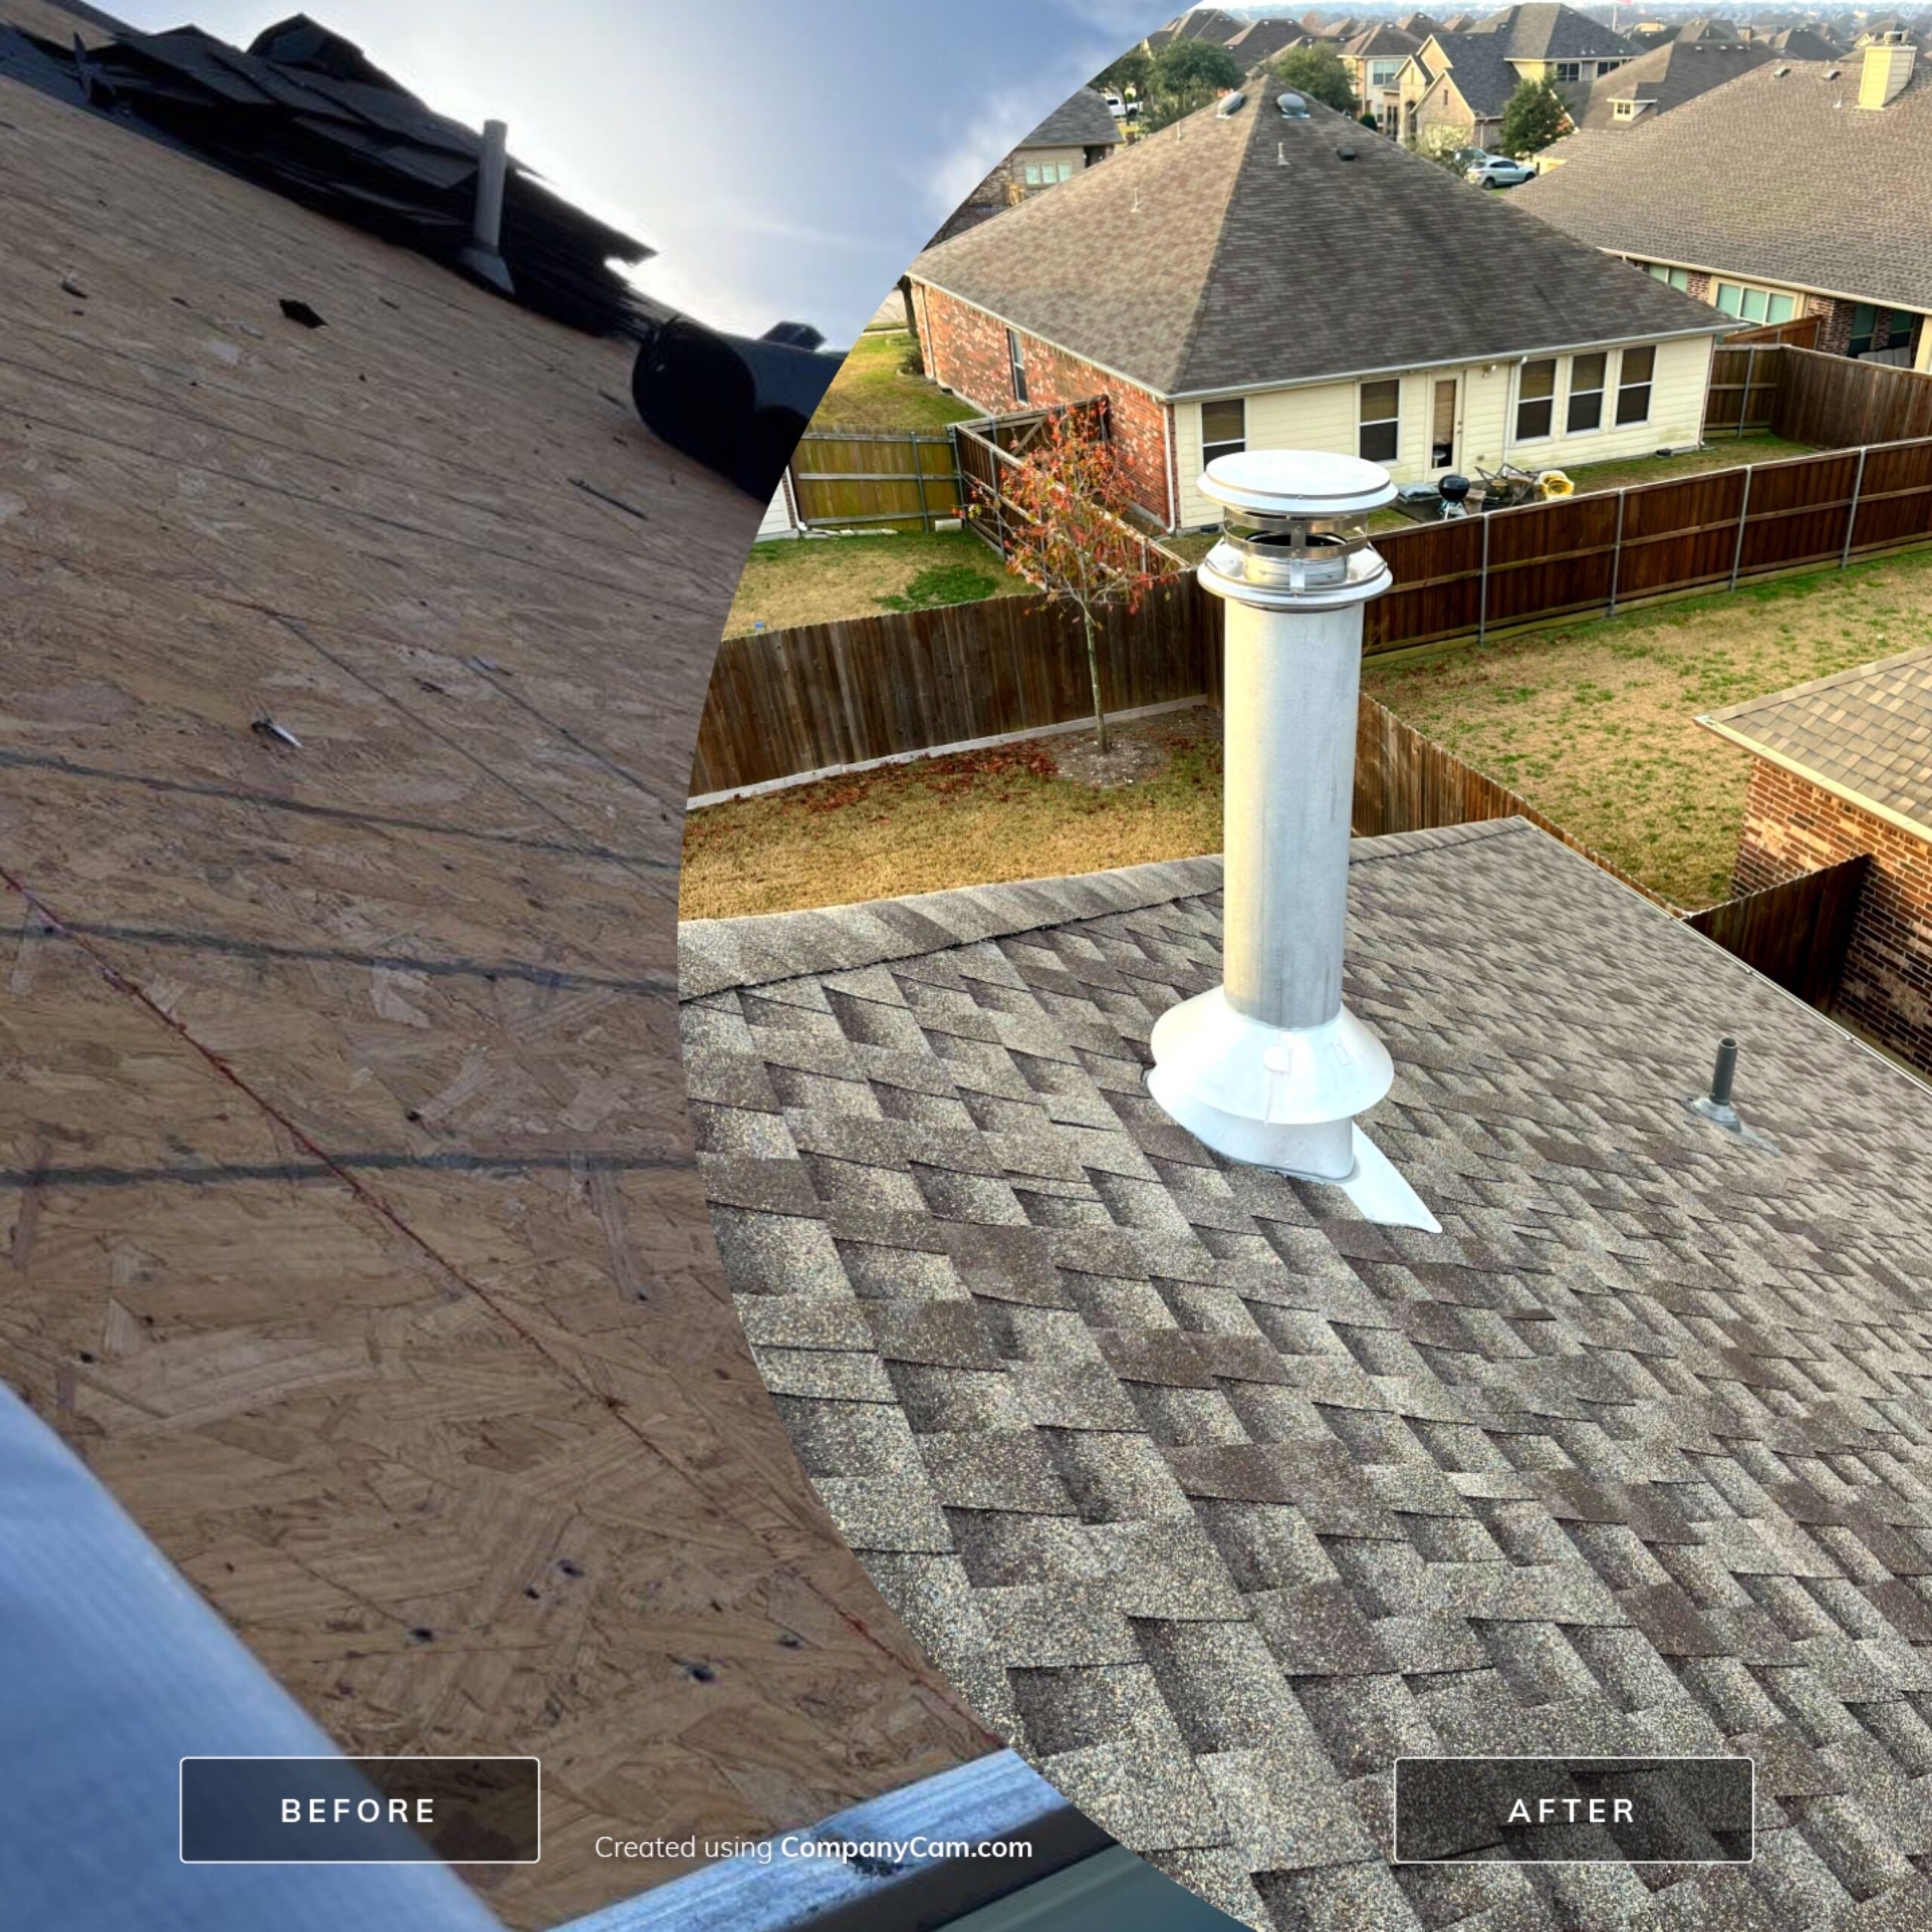
We started by removing the carpet and drywall in the corner where the fireplace would sit. Once the wall opened up, an electrician came out to reconfigure the wiring so it would clear the new fireplace location safely. After that, our crew installed new wallboard and backerboard to prepare the surface for stone and tile. We installed new ledge stone on the surround and laid new floor tile in front of the hearth area. Then we repaired the surrounding drywall and completed touch-up paint to blend the new work with the existing walls. Finally, we coordinated with a fireplace company, who installed the wood burning unit itself. Because the home had a newer roof, we returned afterward to flash in the flue pipe where it penetrated the roofline, protecting that new roof from future leaks at the penetration point.
What the photos show
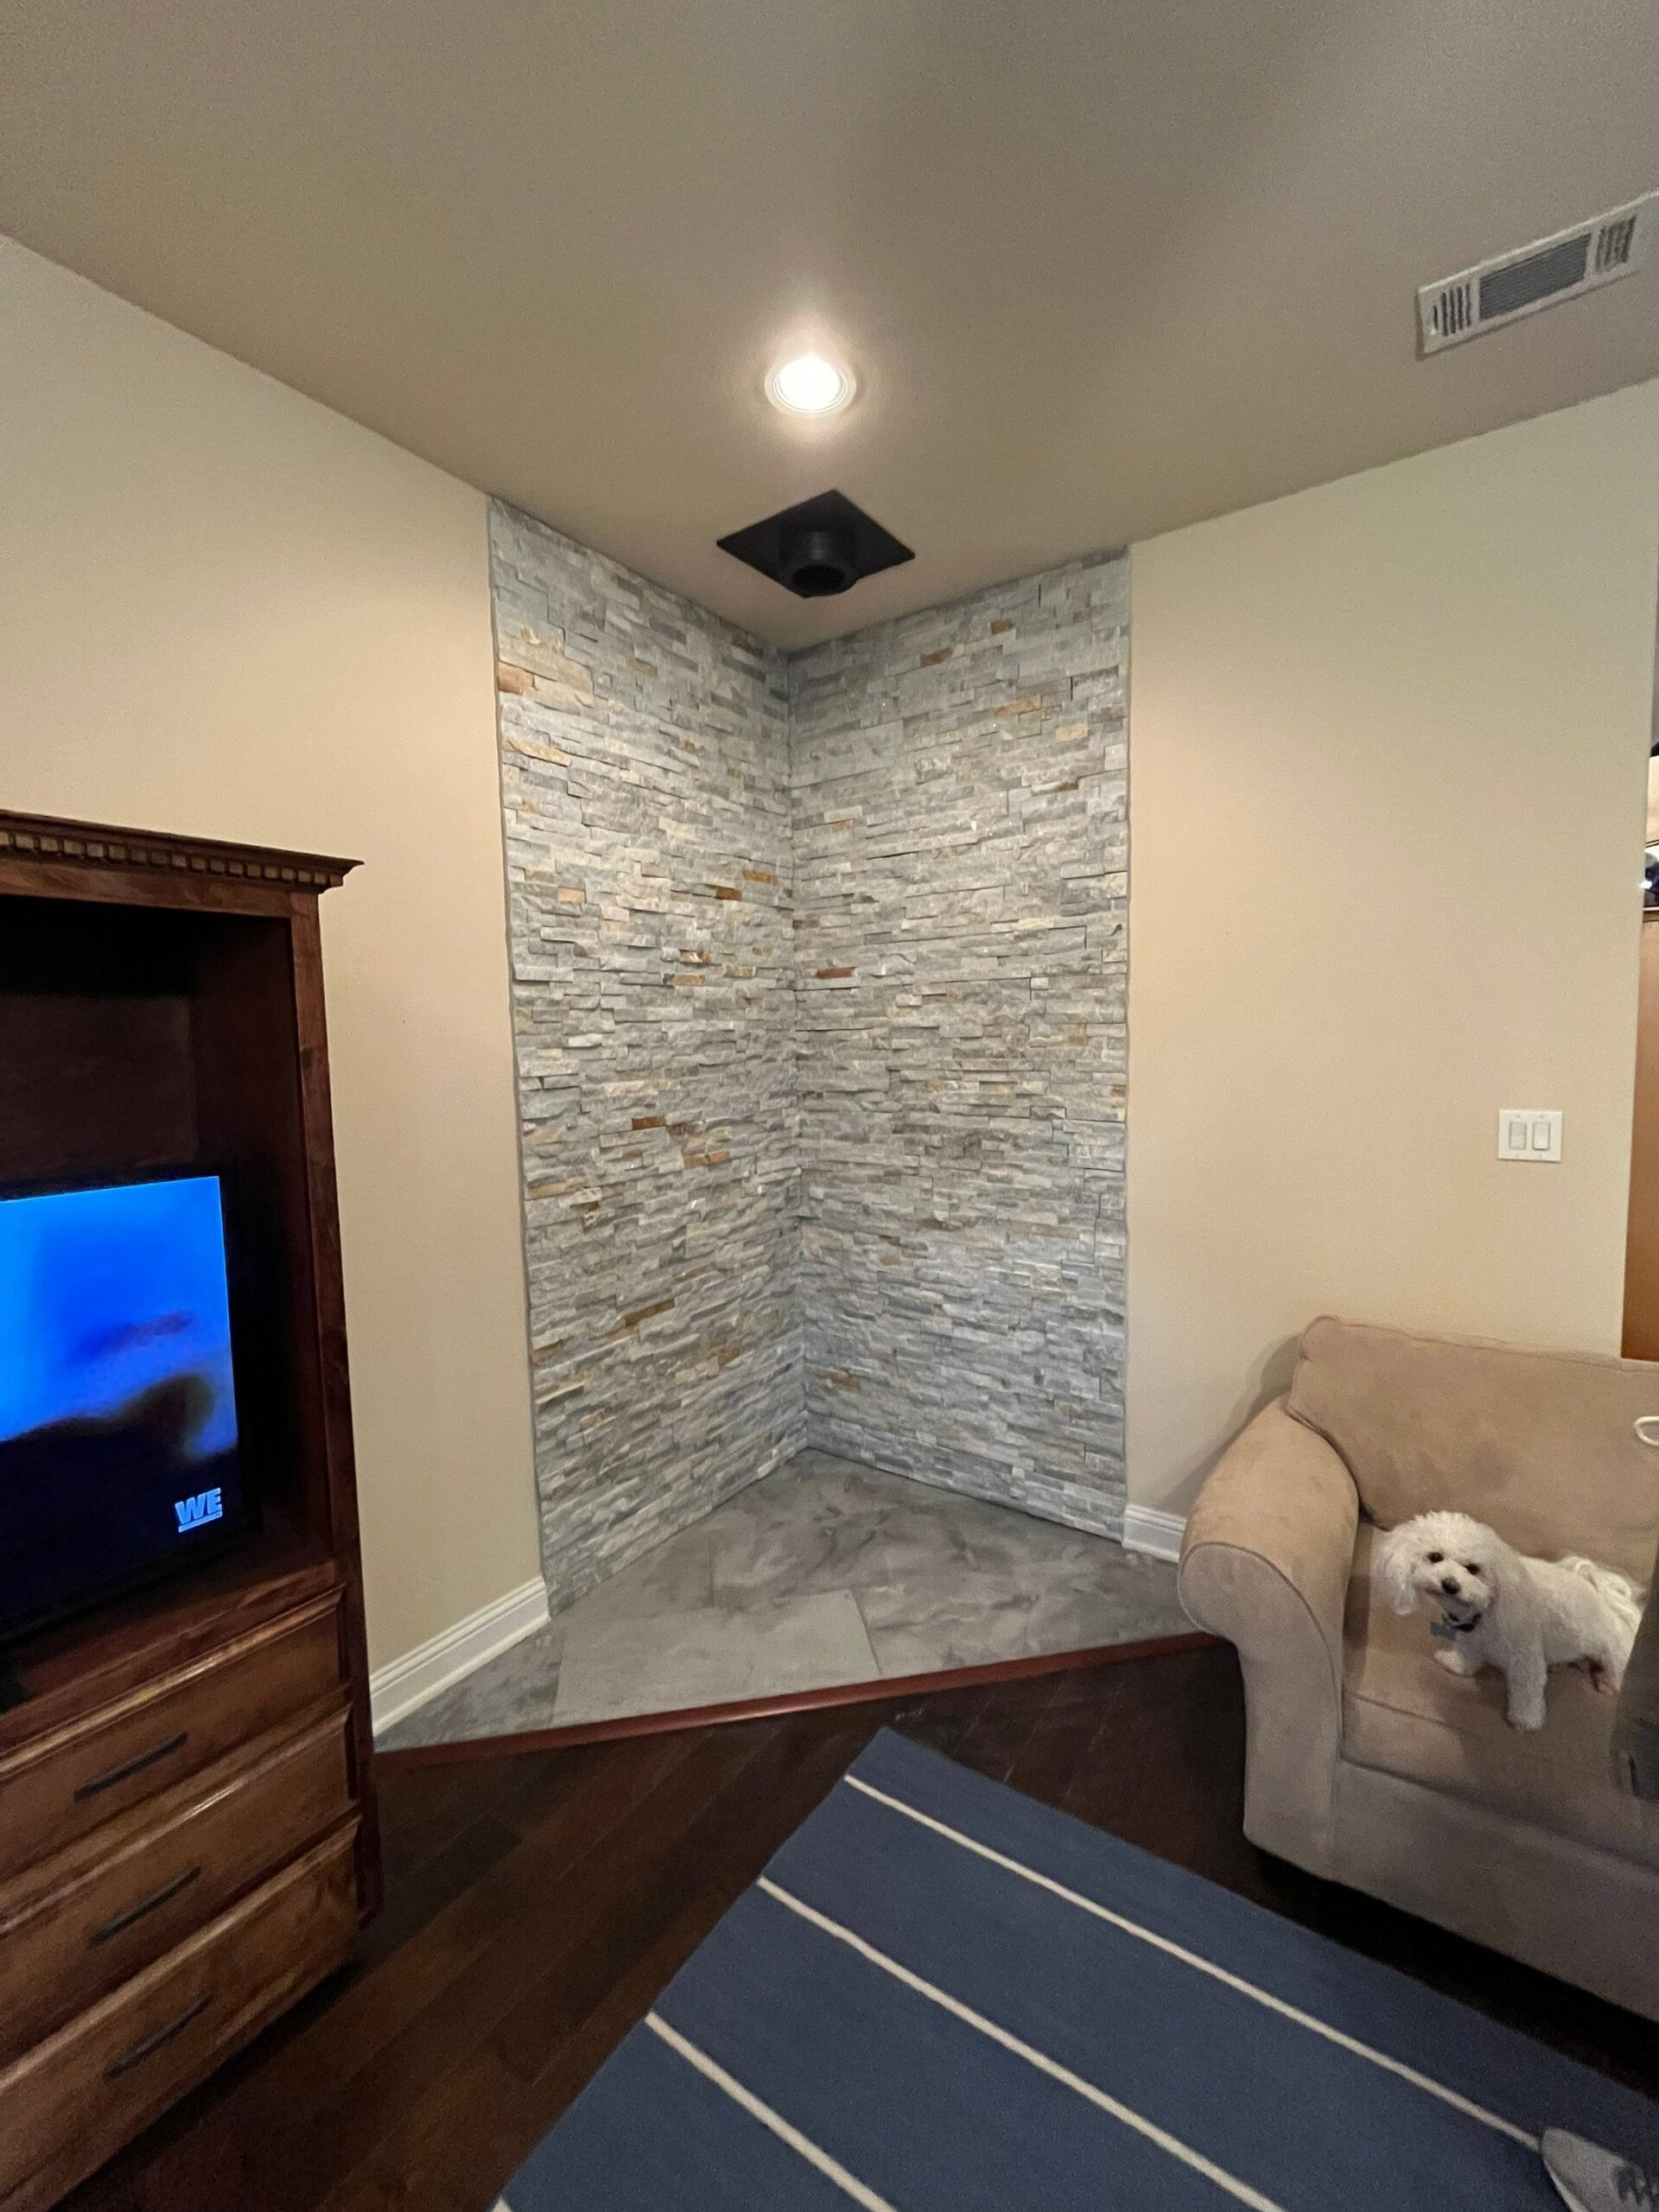
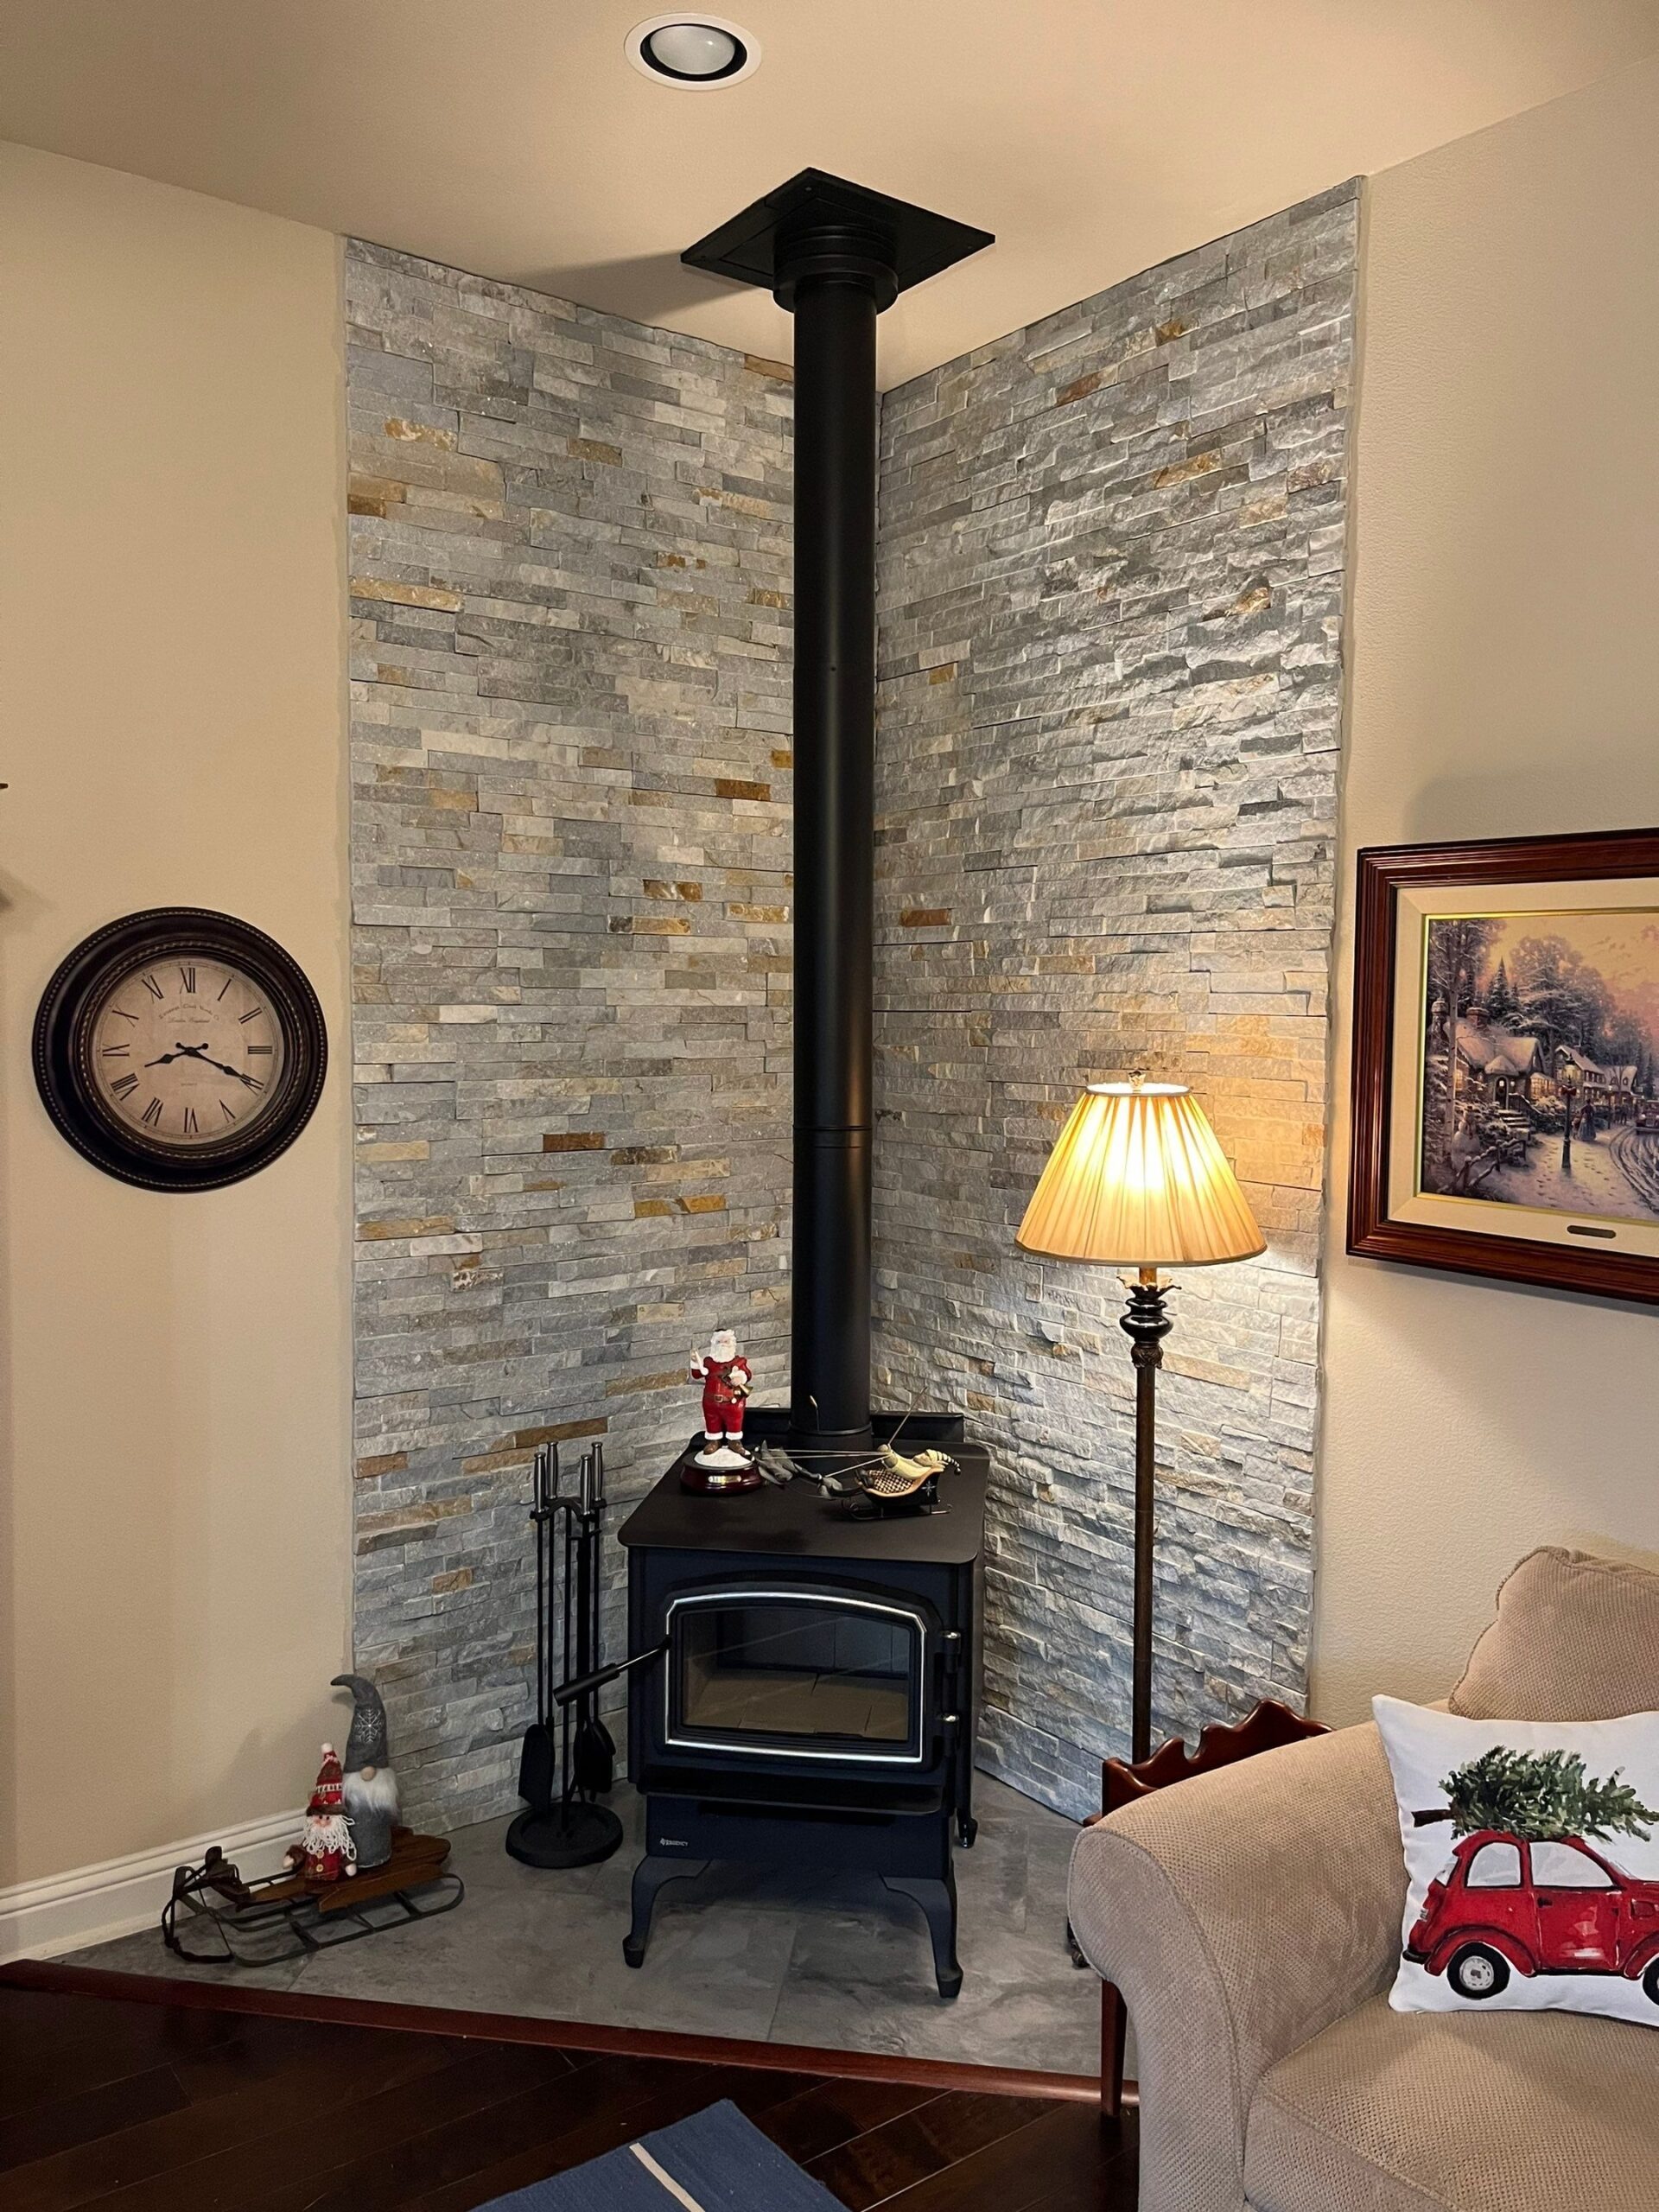
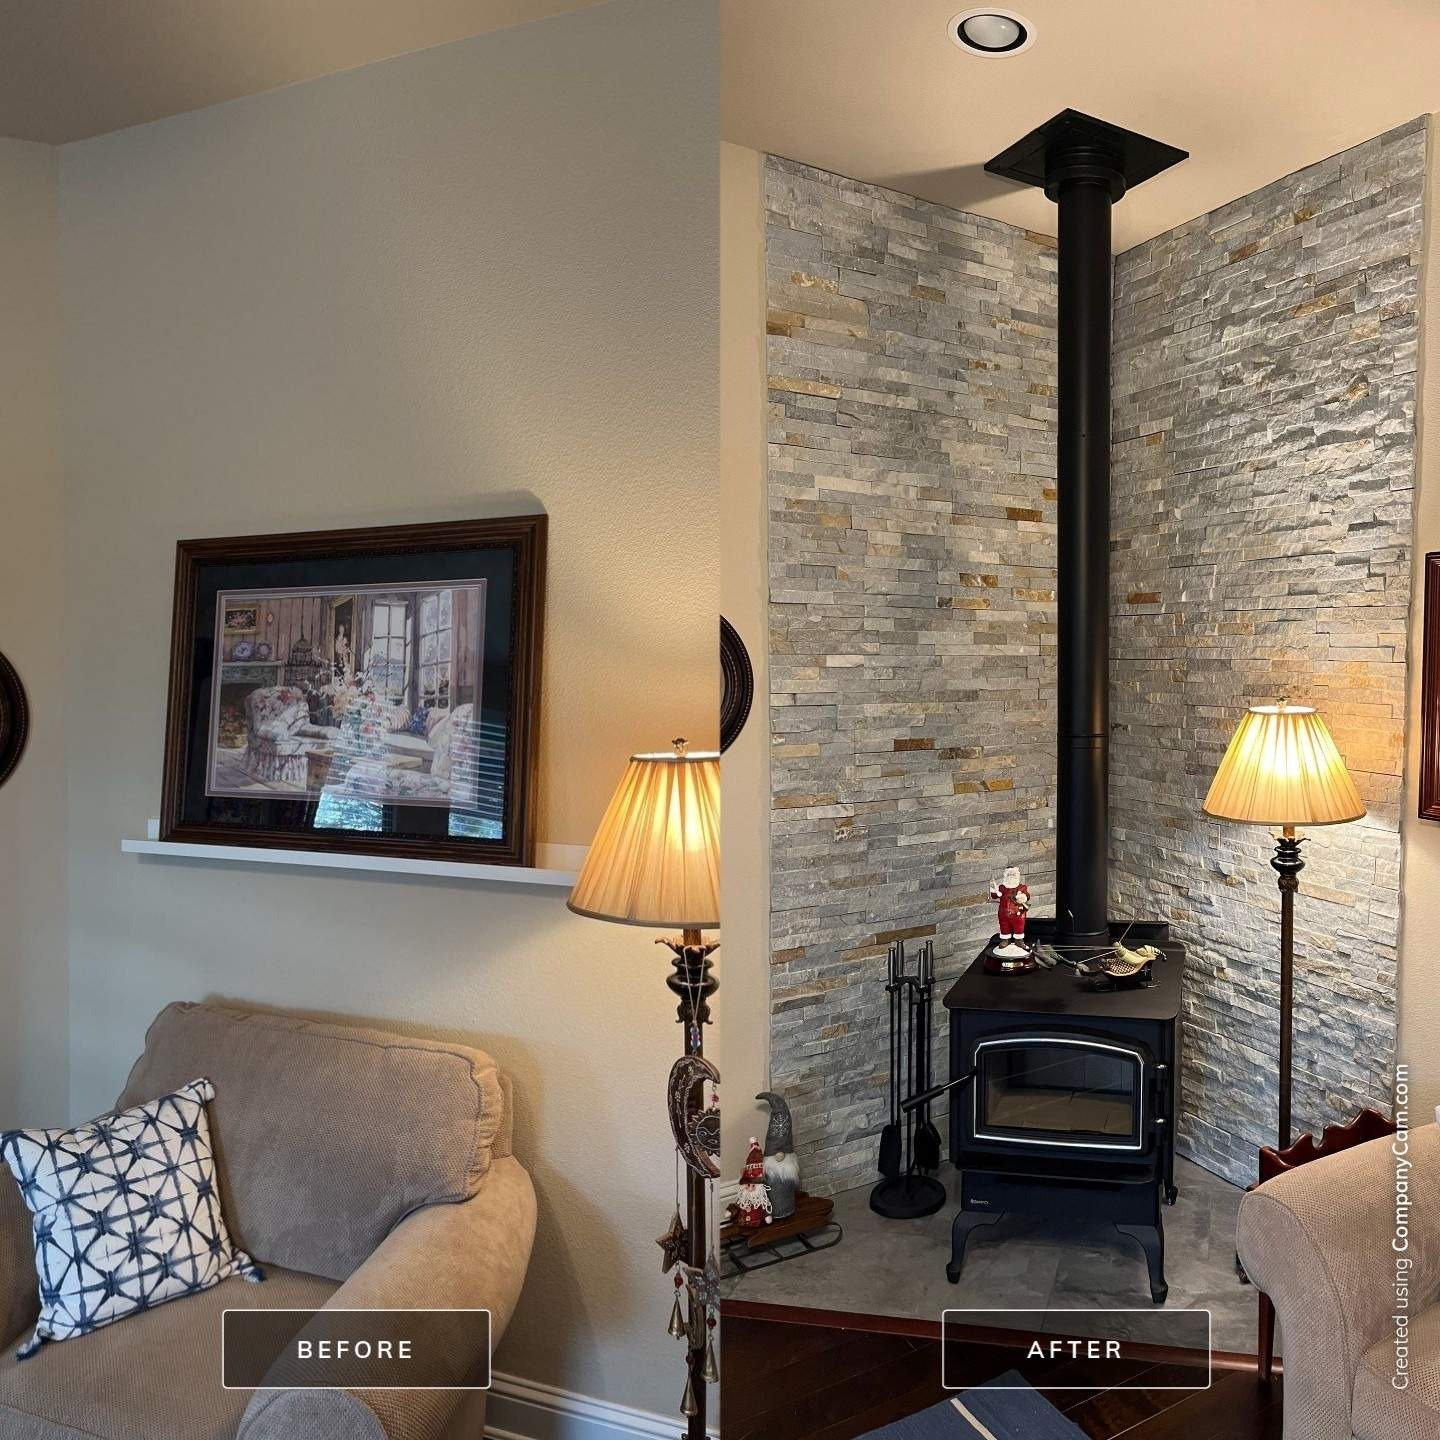
The before photos show the bare corner with carpet and drywall still in place, before any work began. The during photos document the wall opened up, the wiring reconfigured, and the backerboard and tile going in step by step. The after photos show the finished ledge stone surround, the new floor tile, and the completed fireplace installation with fresh paint around it.
Before
During
After
Why fireplace installations are worth taking seriously
A wood burning fireplace is not a simple drop-in appliance. It involves wiring changes, fire-rated backerboard, proper clearances, and a flue that has to pass through the roof correctly. Skipping any of these steps can create a safety issue or a leak point later. Because this home already had a new roof, flashing the flue pipe correctly the first time protected that investment. Getting each layer right, from the wall structure to the roof penetration, is what makes a fireplace both functional and safe for daily use.
Result and next step
This custom fireplace remodel in Melissa, TX is complete, with a finished wood burning fireplace, new tile, stone, and paint in place. The homeowner now has a working fireplace built exactly where they pictured it, backed by wiring work, tile work, and roof flashing done in coordination with the right specialists. As a small final touch, our crew donated the first load of firewood so the homeowner could enjoy their new fireplace right away. For homeowners considering a similar project, the next step is a conversation about the space, the wall structure, and how the pieces fit together.
Guidance for property owners in Melissa and North Texas
Before starting a fireplace or remodeling project, confirm the wall can support the structural and venting changes involved. Homeowners in Melissa can find more on general renovation planning through our Melissa service area page. If your project touches the roofline, like this flue flashing did, it helps to understand how North Texas storms have affected roofs in the past; see the Melissa hail history and the National Weather Service Fort Worth office at https://www.weather.gov/fwd/ for regional storm data. Coordinating your remodel with a company that also handles roofing details reduces the risk of gaps between trades.
Related guidance
For homeowners planning similar projects, these resources may help: explore our remodeling services, learn about ceiling stains that can signal roof or wall issues, and when you are ready to discuss your project, get help from our team.
Frequently asked questions
How long does a custom fireplace remodel in Melissa take to complete?
Timelines depend on the scope of wall work, wiring changes, and tile or stone installation. This project involved demolition, an electrician visit, backerboard, stone, tile, and coordination with a separate fireplace company.
Do you install the wood burning fireplace unit yourselves?
On this job, Rainy Day handled the wall opening, wiring coordination, backerboard, stone, tile, and paint. We coordinated with a separate fireplace company for the actual fireplace installation.
Why did the crew return after the fireplace was installed?
The home had a newer roof, so our crew went back to flash in the flue pipe where it passed through the roofline. That step protects the roof from leaks at the new penetration point.
What did the approximate cost range look like for this project?
This project fell in the $5k-$15k range, covering demolition, wiring coordination, backerboard, stone, tile, drywall repair, paint, and roof flashing work.
“This company is great. I had my mailbox destroyed by a FedEx truck and they were able to come out around the holidays within a reasonable timeframe. Get me a quote and then complete the job before the HOA that I live in had any issues.”